
How to Make a Reel on Instagram With Photos?
 For all latest news, follow The carefulu Google News channel.
Make Instagram Instagram again!
You’ve probably seen this request flying across Twitter and other social platforms. And that’s because many Insta users are fed up with the platform’s new focus on videos specifically Reels instead of photos.
In 2021, Instagram CEO, Adam Mosseri, announced that Instagram was no longer a photo-sharing app or a square photo-sharing app.
This announcement caused an uproar.
Fast forward a bit to July 26th, 2022…
Mosseri responded to the backlash with a video stating that photos would still be supported, but that the platform would continue to focus more on video content.
So, what can you do if you just want to post photos on Instagram? Do you have to lip sync and dance for Reels if you want to stay relevant? Not quite.
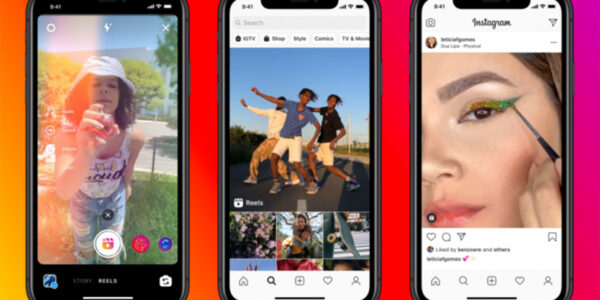
How to Make a Reel on Instagram With Photos
It’s safe to say that Instagram is no longer a social platform dedicated to photos of last night’s sunset or that black and white photo of your adorable poodle. Nor is it the carefully curated photo grid of brands, influencers, and photographers that we’ve come to expect.
Whether you’re just trying to share cute pics with your friends or you’re a professional photographer and don’t want to pivot to videography, the algorithm shouldn’t prevent you from sharing your photos with the world. One solution is to post those photos as an Instagram Reel and earn back the views they deserve.
Yes, you can do that… and it’s simpler than you may think!
How to Make a Single Photo Into a Reel
Have only a single photo to share? Great. The thing is, if you use the IG Reels Editor inside the app, you can’t set the duration for a single photo to longer than five seconds.
Bummer, right? However, if you turn that photo into a video outside of Instagram before you upload, you can set the duration for as long as you like. First things first, you’re gonna need a video editing tool. For this tutorial, we’re using Kapwing.
You can use Kapwing’s Video Editor on your computer or a mobile device. Since we’re going to be uploading our video to Instagram via Reels, let’s make our video using a mobile device. Navigate to Kapwing.com and sign in to access your workspace. Click on Create New Project to get started.
Step 1: Upload your photo
Select Click to upload to add your photo to the editor if your photo is already the correct aspect ratio for Reels (9:16). If not, choose the 9:16 option under Start with a blank canvas instead. Once you’ve opened the project, you can add your photo to the 9:16 canvas by using the upload options inside the Media tab.
Step 2: Adjust your canvas
Once you’ve uploaded your image, there might be a blank canvas still visible behind the photo. You have a few options here. You can crop your photo to fill the whole frame. With the photo selected, click Edit image and then Crop with the 9:16 preset.
Select the background layer and Edit the background. Click Remove Padding so the newly cropped photo will automatically fill the frame.
If you don’t want to crop your image hey, sometimes a photo is already perfectly composed, no worries. You can spice up the background a little bit instead.
To add a subtle background blur, select Edit background and turn Canvas Blur on. To add a colored background, select Edit background and choose from the preset colors or a custom color in the Background Color section.
Step 3: Set the duration
This is where the magic happens and your photo becomes a video.
Select Edit background and then Timing. From here, you can choose the duration you’d like for your video.


